If you like to wear jewelry, chances are that you’re going to need to repair some of your pieces at some point in time. While most people might think this is a job best left to the professionals, it can actually be quite simple if you have the right tools and a little bit of practice. The first step is learning how to use a jewelry laser welder for repairing jewelry. This guide will teach you everything from preparing work space and connecting the laser itself all the way through cleaning up after yourself once finished with your repairs!
Prepare the work space
Before you get started, it's important to prepare your work space. First, make sure that the table is clean and free of any debris or dust. Then, lay down a towel or cloth on the table as this will make cleanup much easier later on. It is also a good idea to turn off any air conditioners in your workspace so that hot air does not affect the laser beam during welding. Lastly, make sure that there are no pets or children running around nearby as these may interfere with proper safety precautions during operation!
Once you have prepared your work area, it's time to get started with using your new jewelry laser welder!
Prepare the metal, stone, and piece to be welded
- Remove any dirt or debris from the metal surface with a polishing cloth.
- Clean the stone with a soft cloth, preferably one made of cotton, to remove any dust or oil that may have collected on it since it was last worn or used in jewelry making.
- Remove any glue or other unwanted materials from the piece using a jeweler's saw and/or dental tools (the latter can be purchased online).
Connect the laser
Now that you've got your new laser set up, it's time to connect the laser to its power source. The first step is making sure the power supply is in good working order. If you're using batteries as your power source (which should really only be as a last resort), make sure they are charged and ready to go. Next, plug in your workbench so that it can be powered by an outlet or extension cord. Now that everything is connected and turned on—make sure the laser itself is also turned on! We'll get into how this works later when we talk about using the tool effectively, but for now just make sure all of those switches are flipped!
Adjusting the laser - power and focus
To get started, you will need to adjust the laser power and focus. This is done by turning two knobs on the side of your welder.
The first knob should be set to a lower number if you are working with thin metals or plastic pieces, and a higher number for thicker metals and stones. For example, if you’re repairing a ring that has an 18-karat gold setting with a diamond in it, use a setting between 4 and 6. If it’s only gold plated over another metal like nickel or brass (which can look similar), try using 2 or 3 as your starting point instead. The same goes if you're using other kinds of materials such as sterling silver or titanium—the resulting welds will be stronger when they're made with quicker pulses at higher settings than slower pulses at lower ones!
The second knob controls how large each pulse size is; this should also be adjusted depending on what kind of jewelry material(s) are being used: smaller sized heads mean better precision but take longer per weld point so their overall speed might not seem fast enough compared to larger ones which give faster results but don't allow much room for error! You may find yourself experimenting between different sizes until achieving optimal results within reasonable time frames before making adjustments accordingly based upon feedback from friends/family members who helped out along during testing periods (allowing them an opportunity share ideas about improvements) - don't worry though because these tests aren't permanent so there shouldn't be any damage done even when mistakes occur (as long as nothing gets broken).
Cleaning up afterward
After you have finished using your jewelry laser welder, you will need to clean up. First, use a soft cloth to wipe off any metal from the metal that was welded together. Then, clean the jewelry with warm water and soap. Dry it with a soft cloth and put it back on the piece of paper. Then place it in an oven at 200 degrees F for 30 minutes
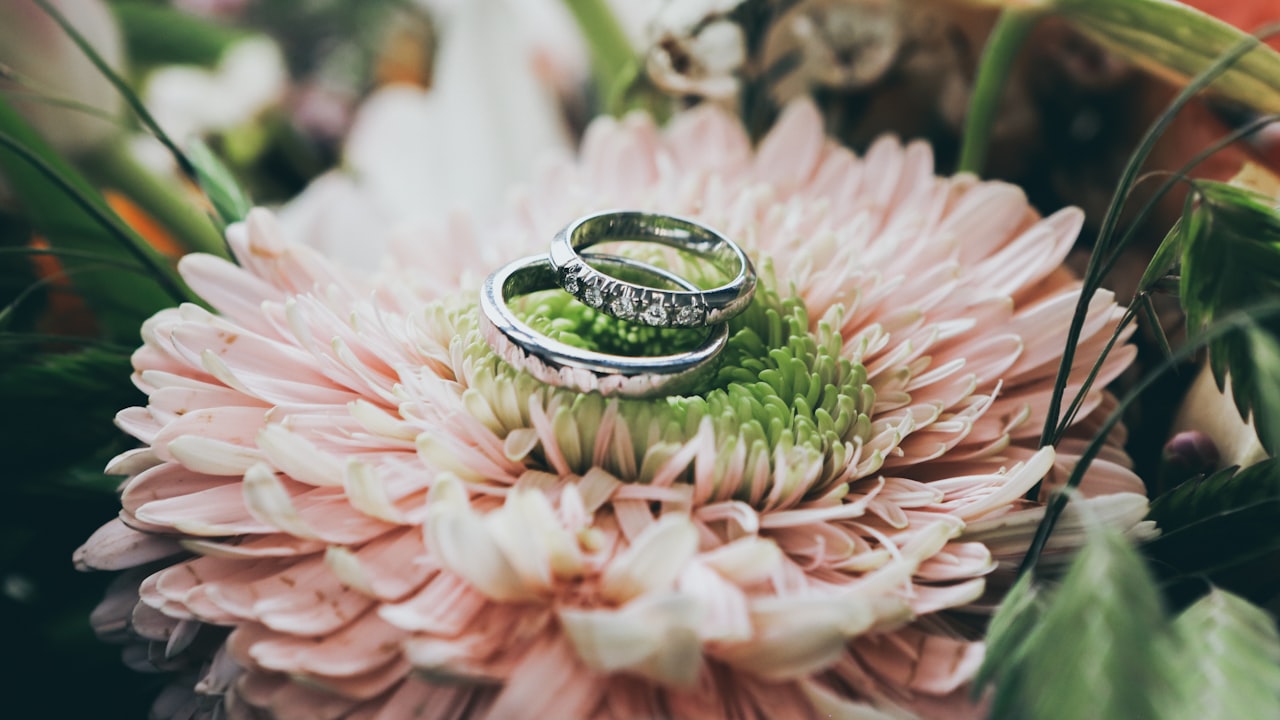
It’s important to learn how to repair jewelry in the event that a piece does need mending.
There are a variety of different ways to repair jewelry, but laser welding is the best method if you’re wanting to save money and time. Laser welders can be used to weld metal and stone, as well as glass and plastic. This makes them perfect for repairing a vast array of jewelry pieces.
While it may seem like a difficult process at first glance, there are many easy techniques that allow you to learn how to use a laser welder for repairing jewelry quickly and easily.
Conclusion
With a little practice, you’ll be able to repair just about any piece of jewelry. By using a laser welder, you can save time and money by not having to find a professional jeweler in your area who knows how to weld jewelry.